News
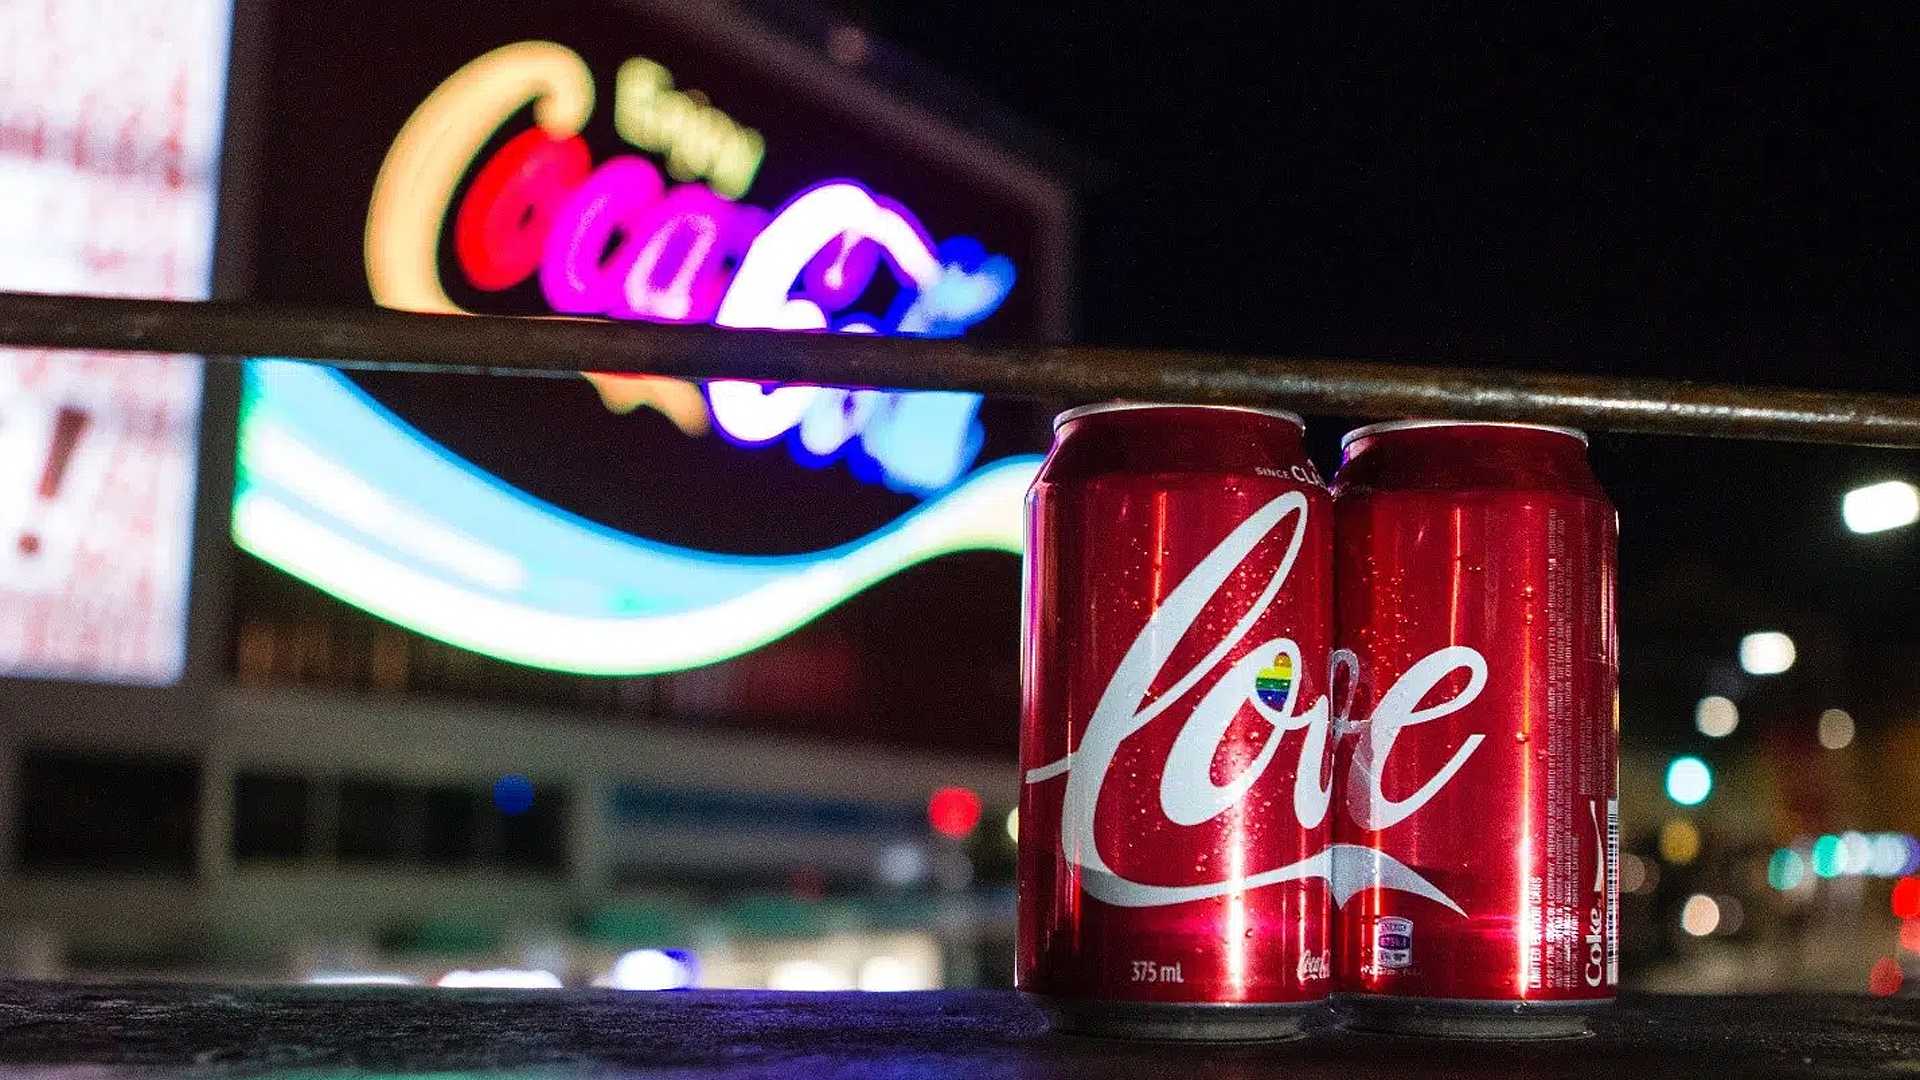
"Love" Story
Coca-Cola Supports Marriage Equality in Australia With Limited-Edition Cans
News & Articles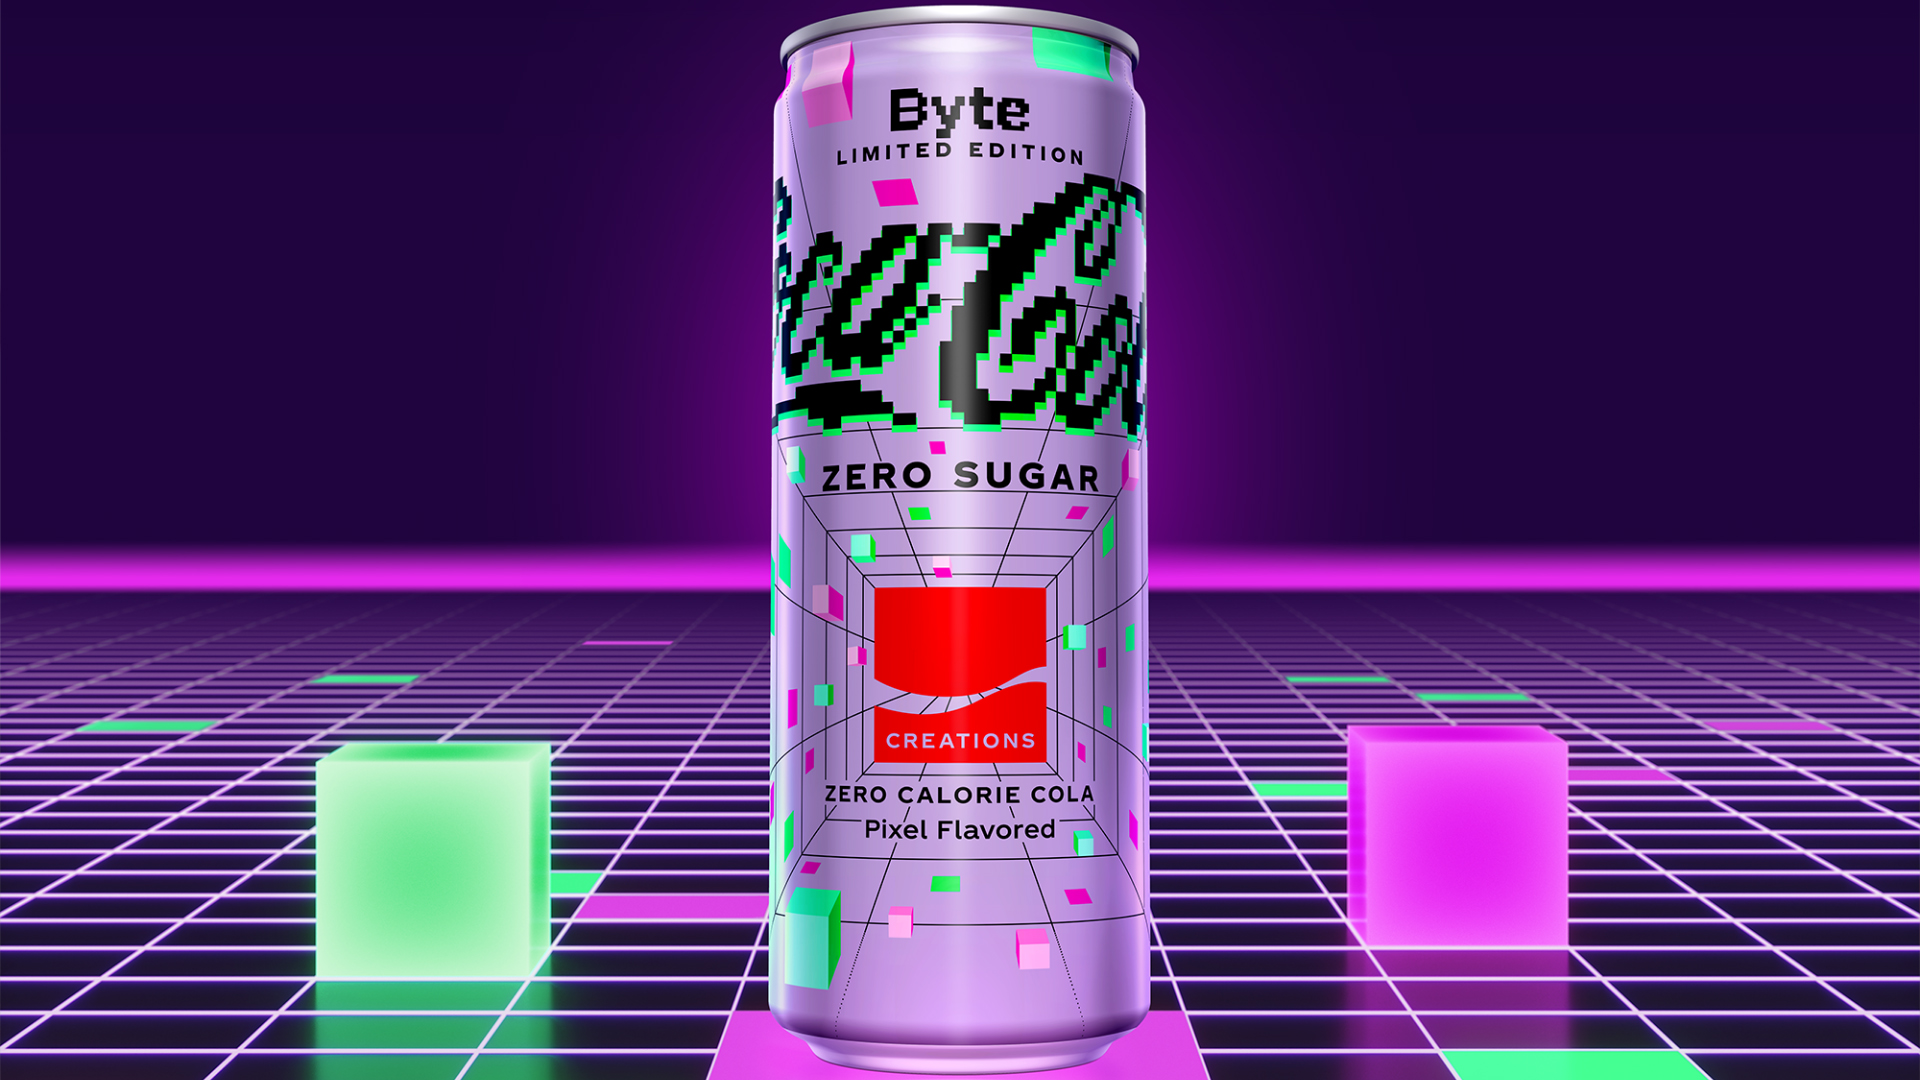
Coca-Cola Zero Sugar Byte
Coca-Cola Creations Gaming-Inspired Coca-Cola Zero Sugar Byte
News & Articles
Autodesk 3ds Max is only available for Windows; due to a lack of ease-of-access to said operating system, I opted to use an alternative production pipeline in which I utilised Autodesk Maya and Blender instead of Autodesk 3ds Max, and created textures in Adobe Photoshop. The models were created in Autodesk Maya by incorporating a mixture of hard-surface and soft-surface modelling techniques, including—for example—the use of curves to loft NURBS (Non-Uniform Rational B-Splines) surfaces and converting them into polygons. One technique is manually editing the polygons with bridges (i.e., connecting two-or-more edges), bevels, cuts, extrusions, and stitches. Another technique is using deformers to organically shape the geometry. Once modelled, simple UV unwrapping was achieved by adjusting the settings of cylindrical and planar UV projections. Once unwrapped, said UV maps were exported and imported into Photoshop. The textures were created with a blend of hand-edited public-domain images and officially branded logos. See the screenshots below for further details.
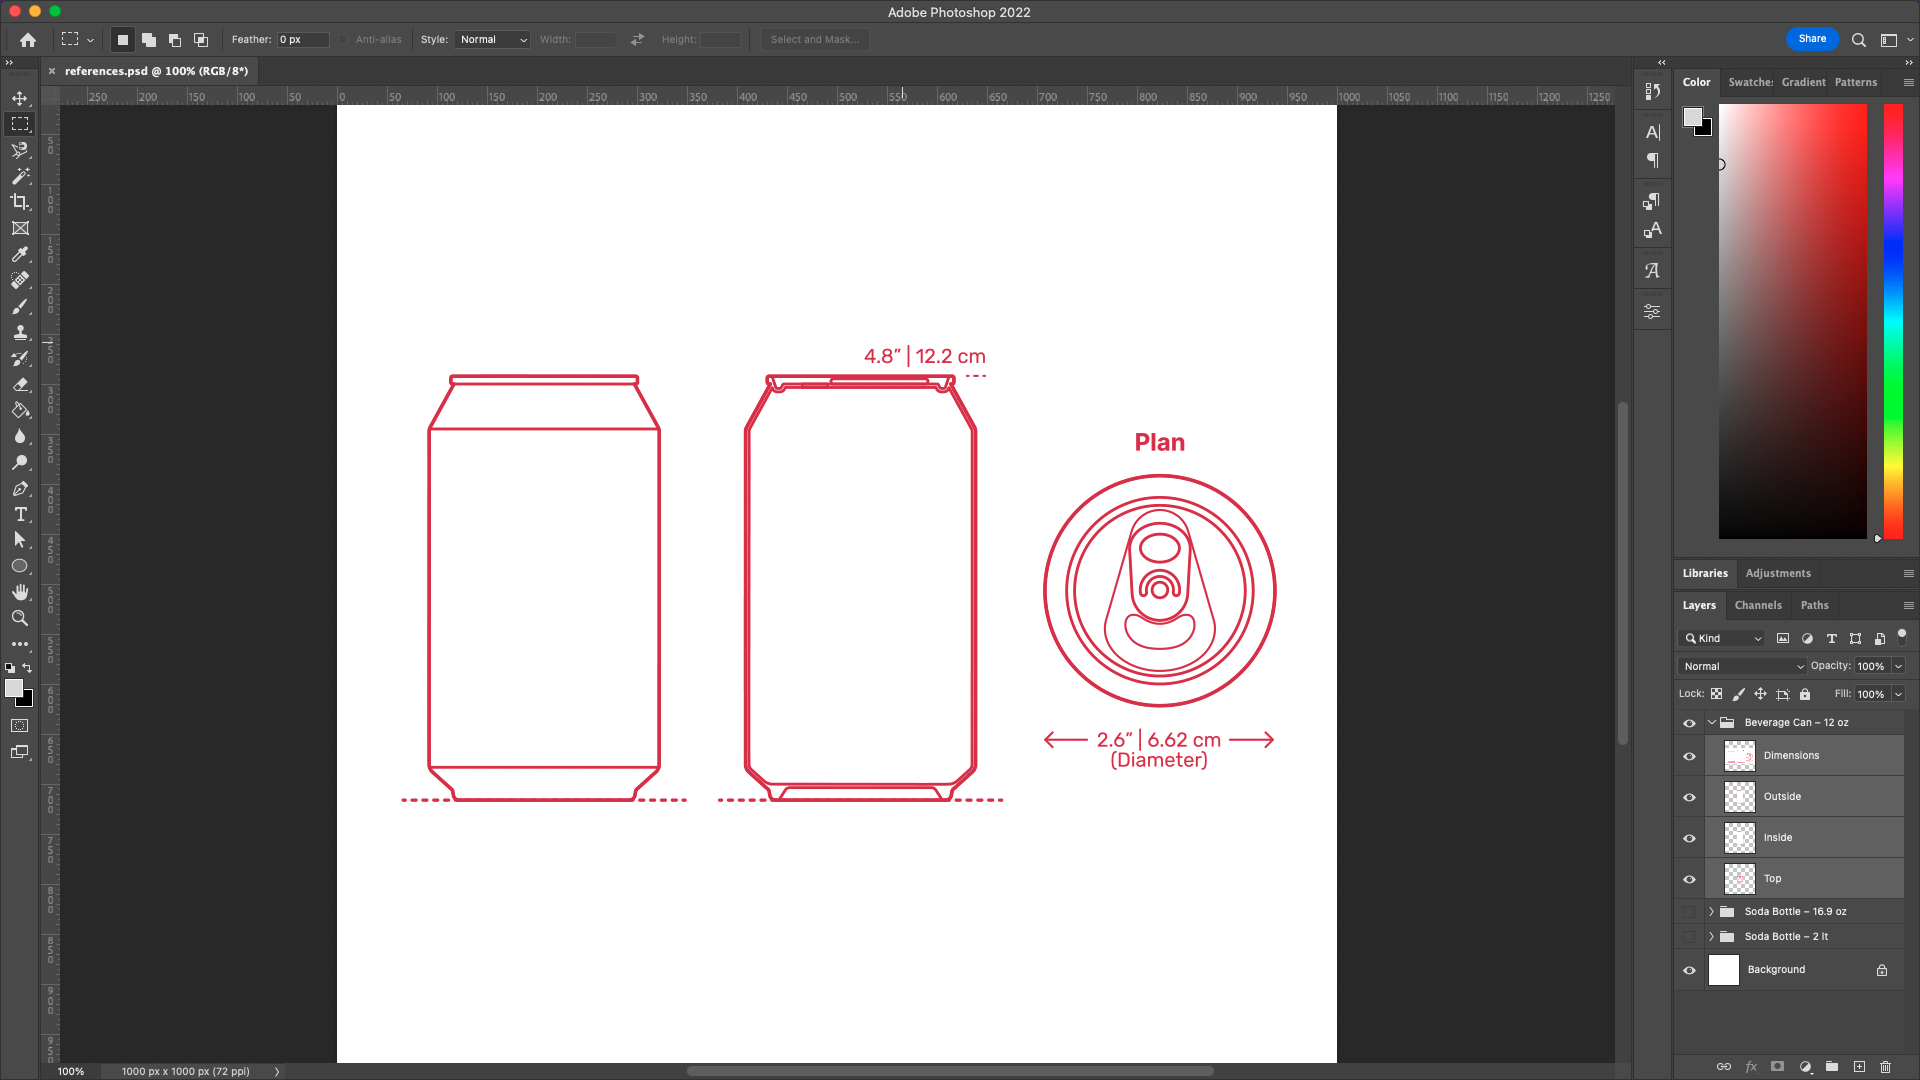
Adobe Photoshop was used to create front, side, and top references images for the bottle and can; corresponding to viewports in the 3D modelling suite.
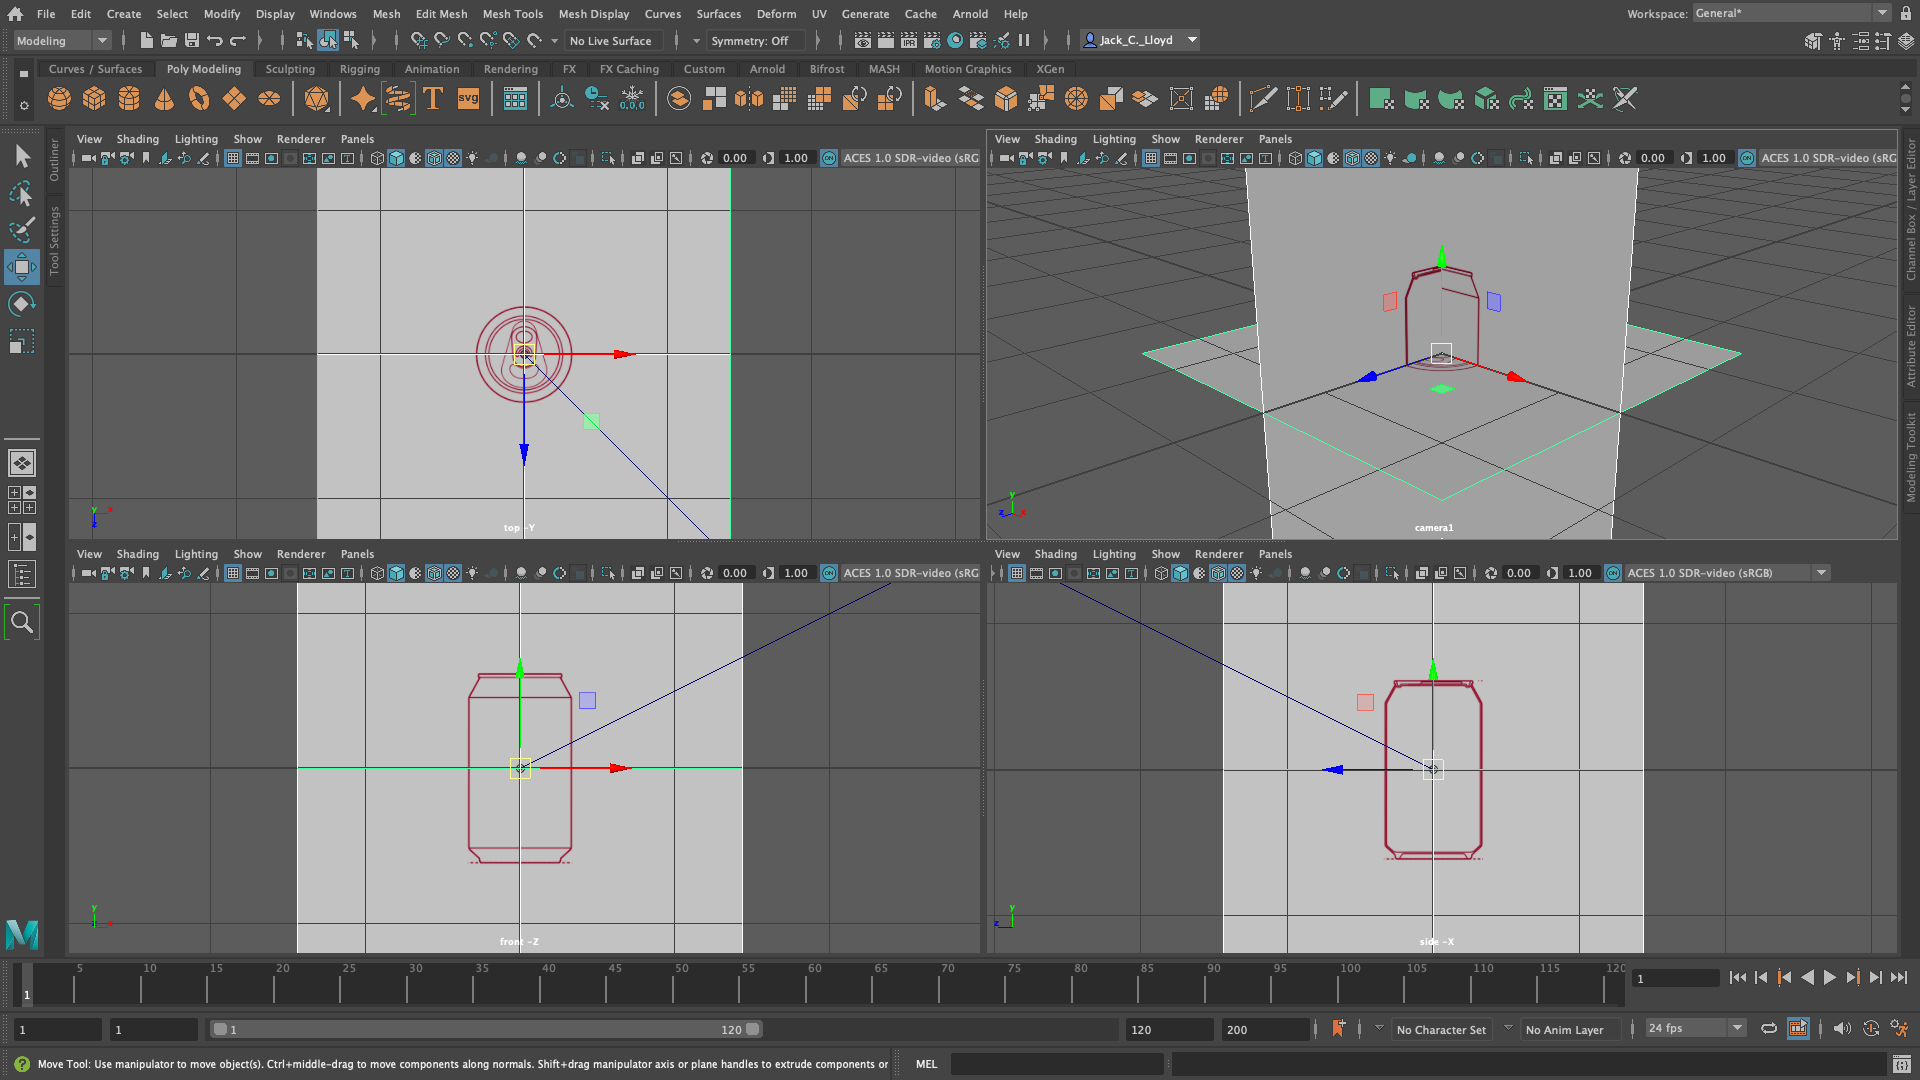
In Autodesk Maya, the front, side, and top references images were used in a 3-plane setup, corresponding to viewports, as shown.
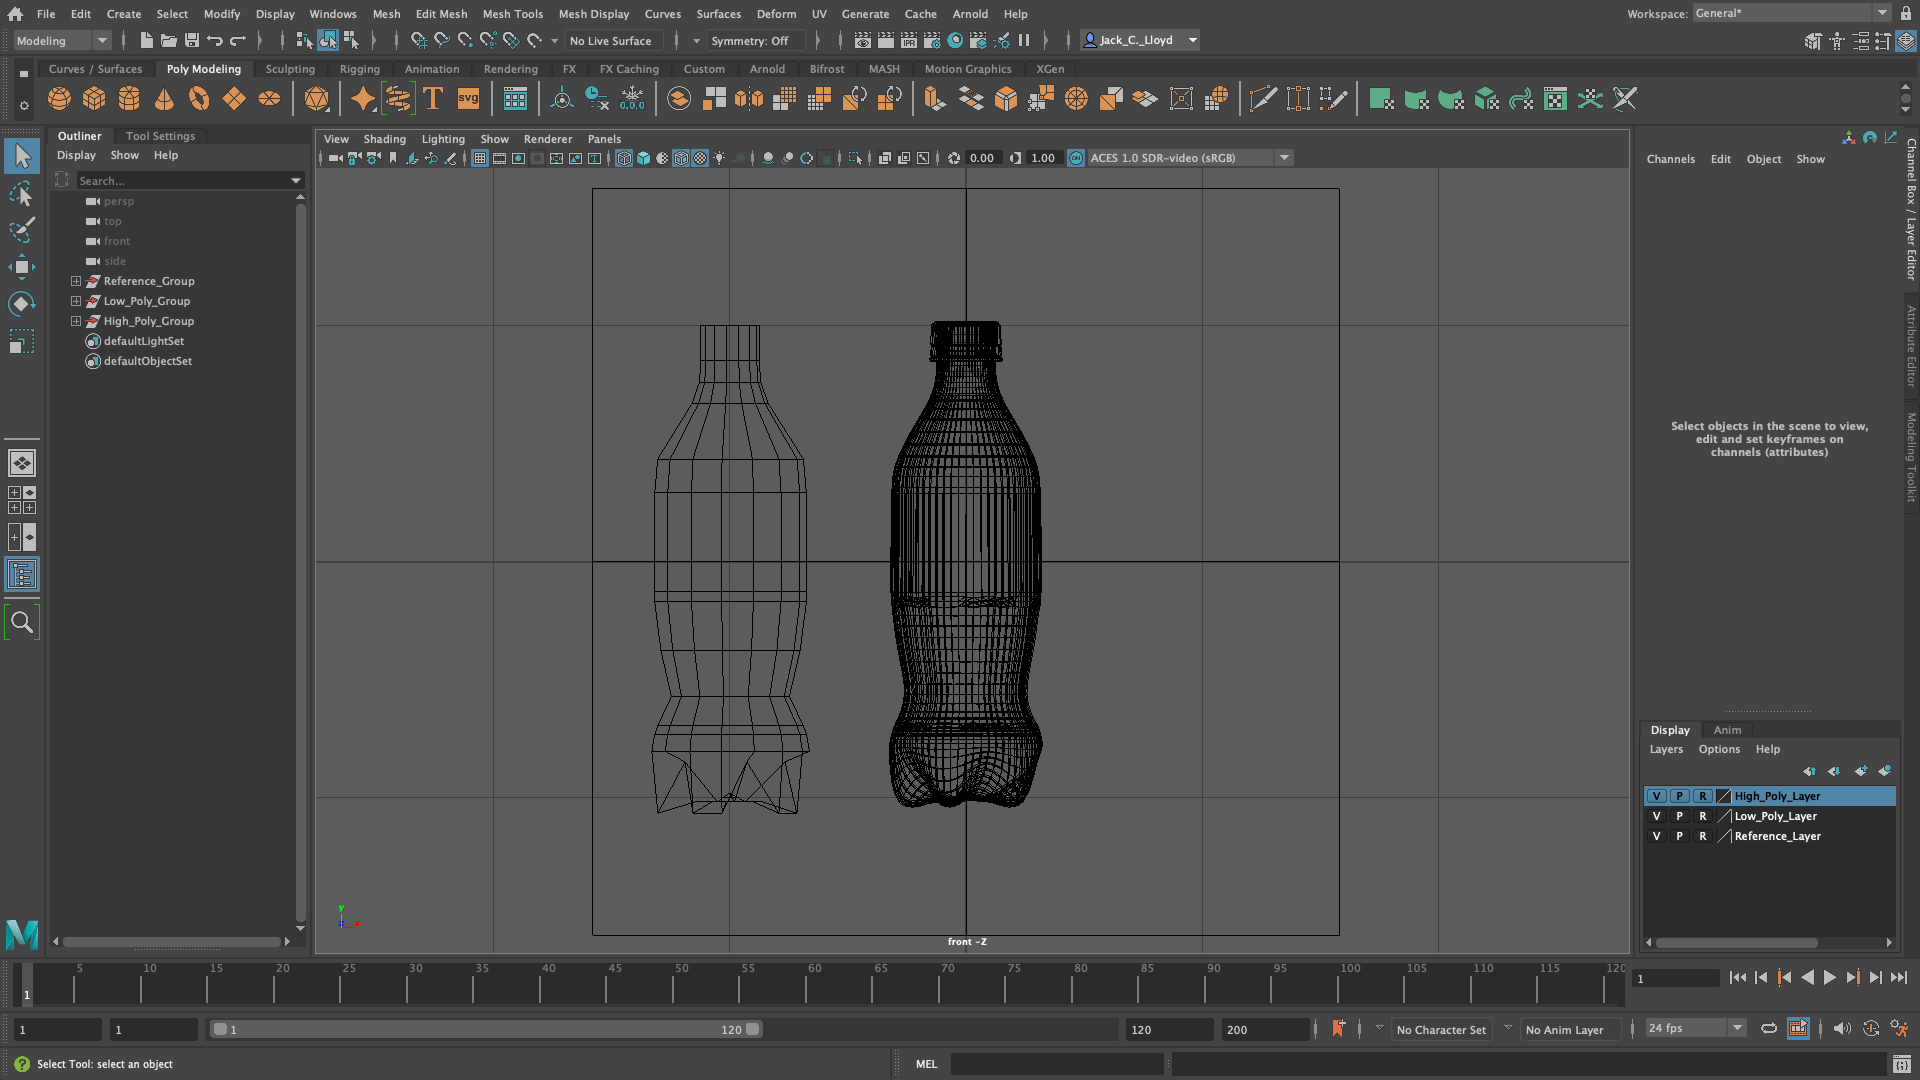
For the bottle, a low-poly cylinder formed the basic shape by aligning with the reference images, and was subdivided to create the high-poly model.
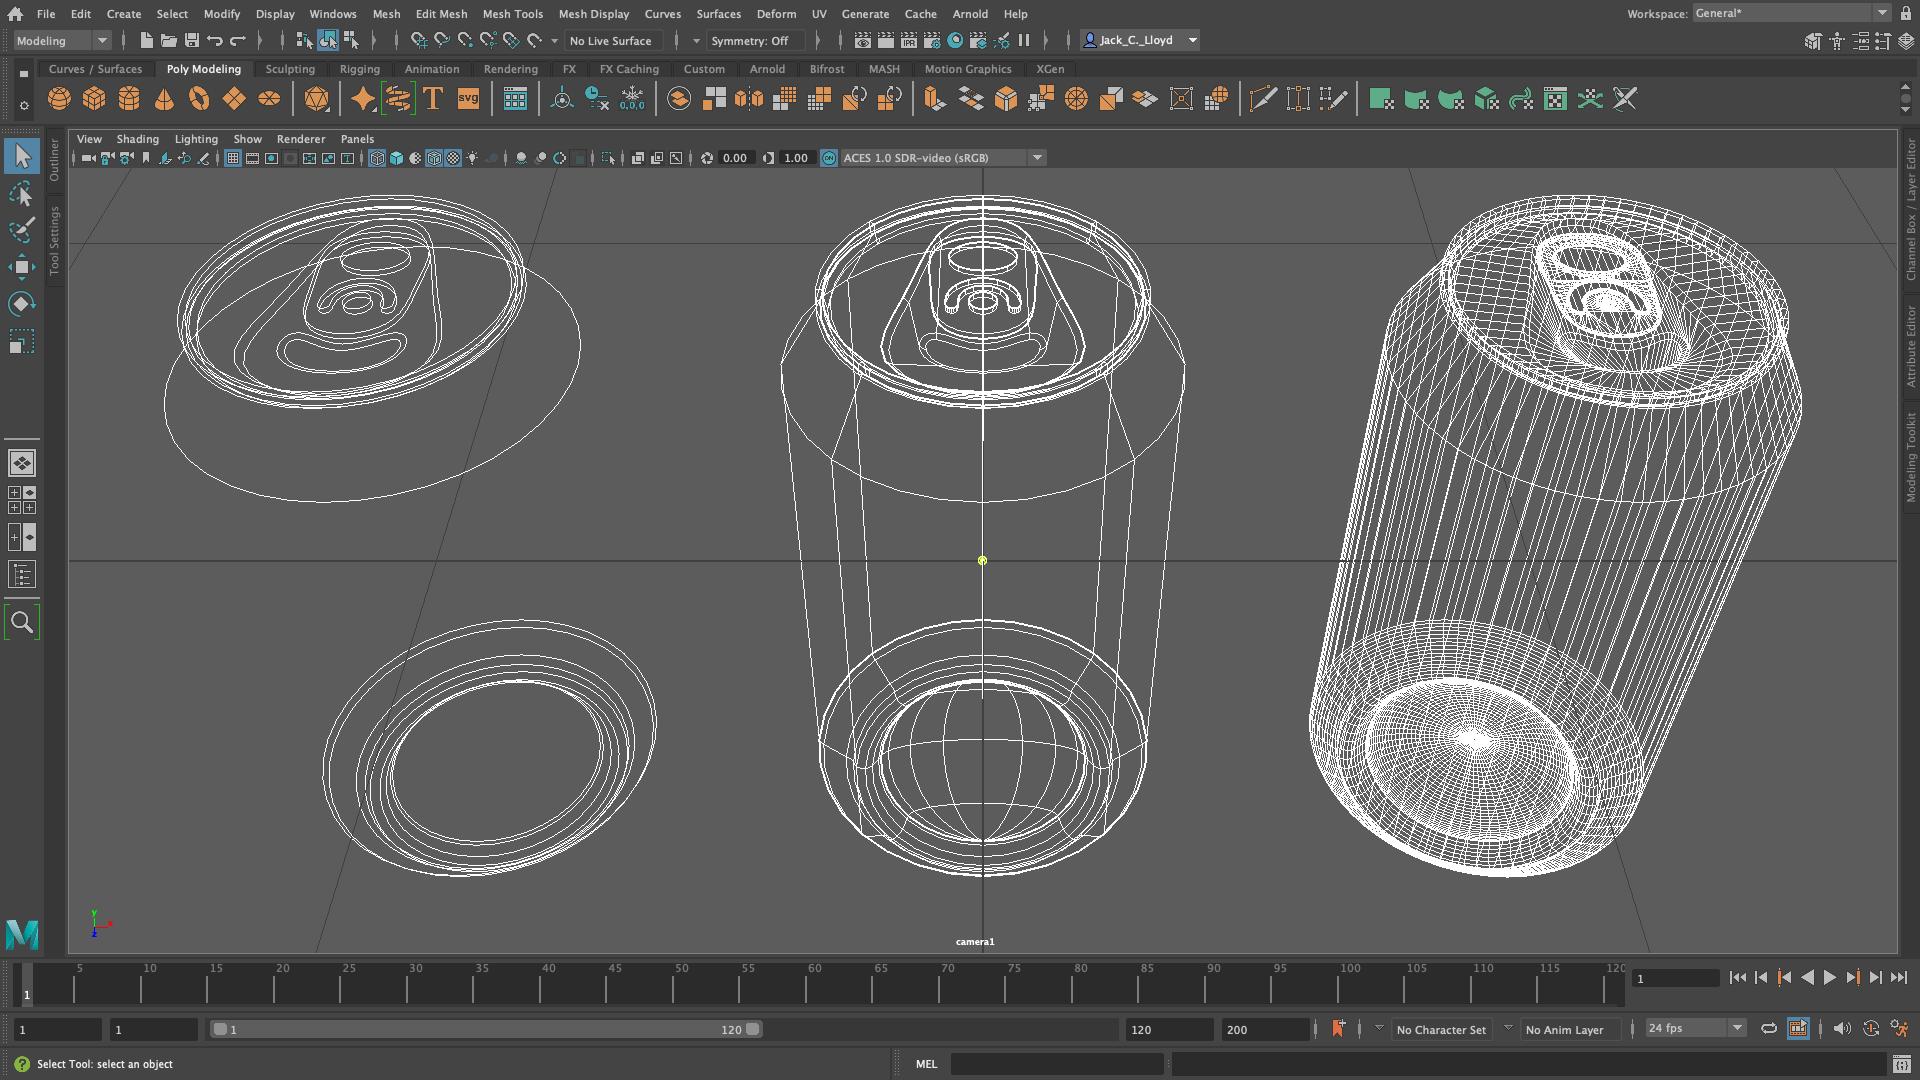
For the can, curves were used to loft surfaces, of which were converted to polygons, and manually bridged, bevelled, cut, extruded, and stitched.
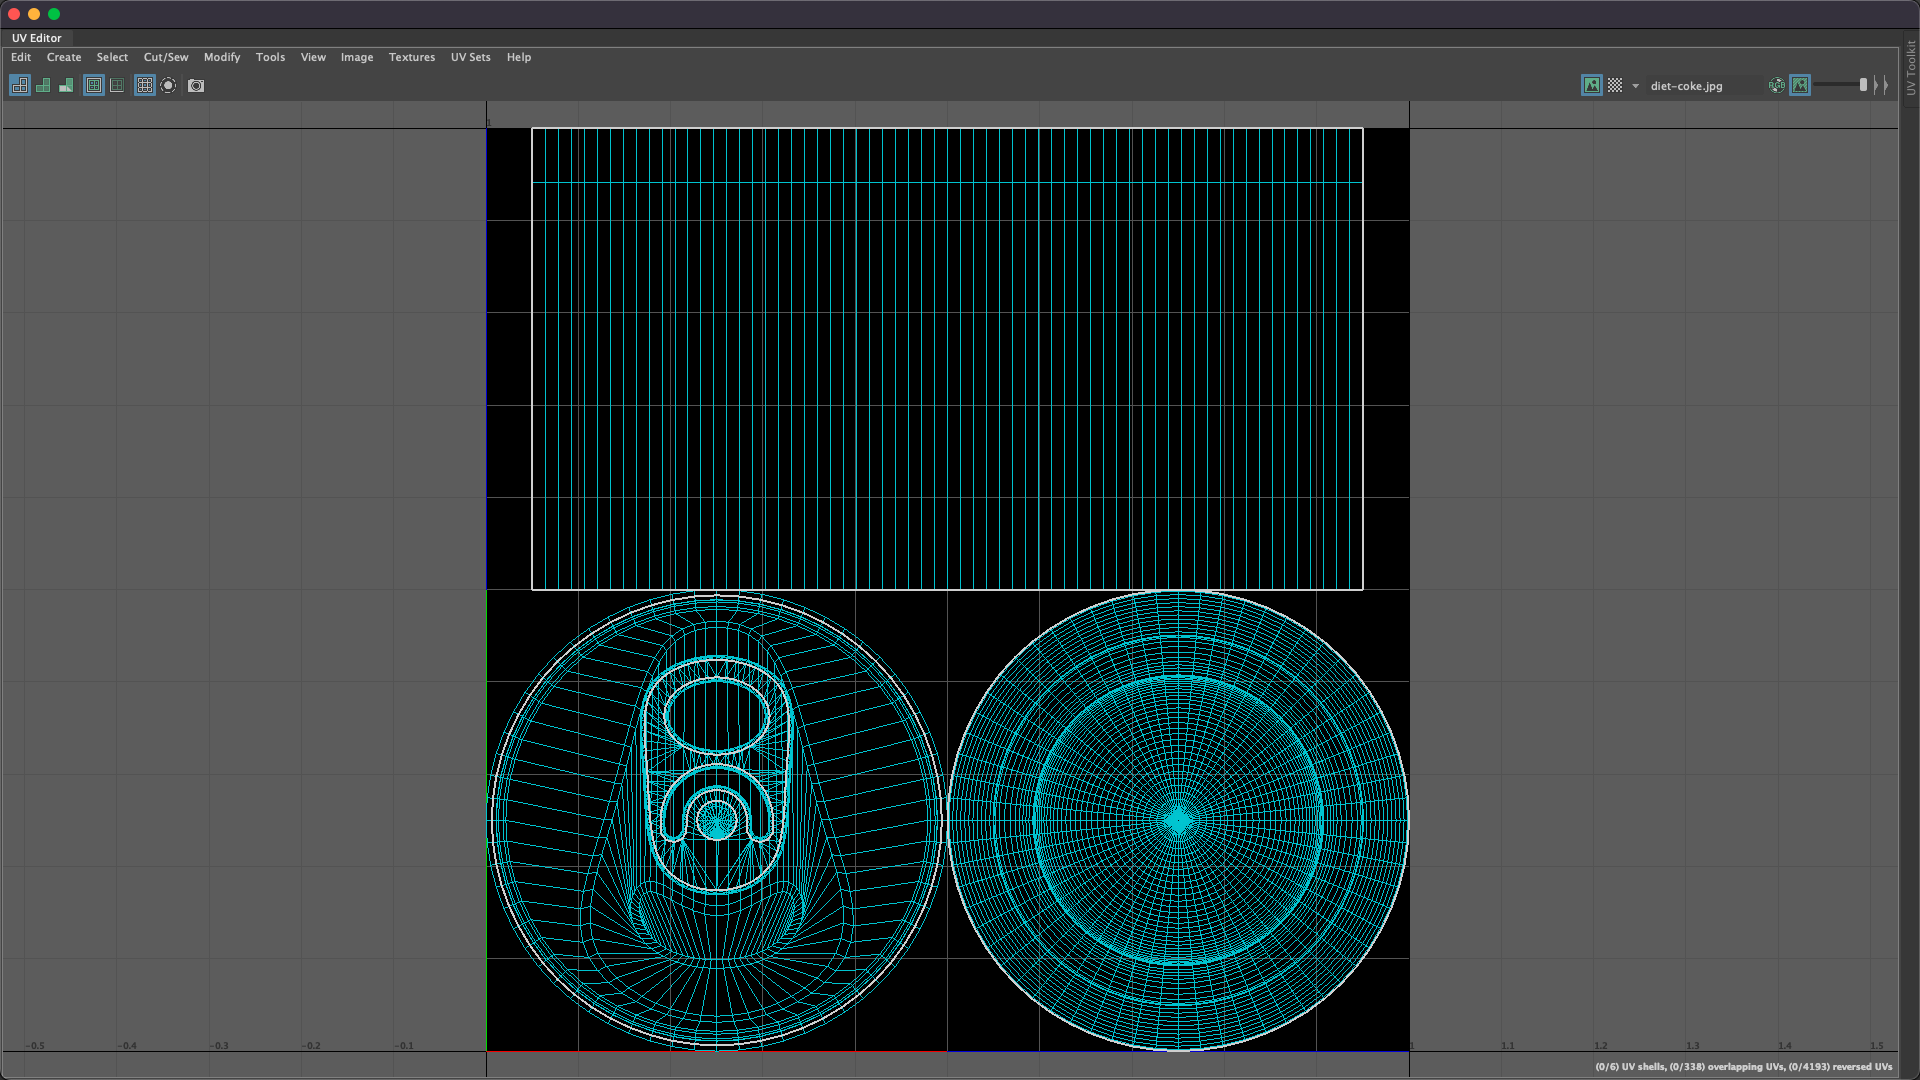
To unwrap the UV maps, cylindrical and planar UV projections were used by setting the horizontal sweep, image centre, and image scale.
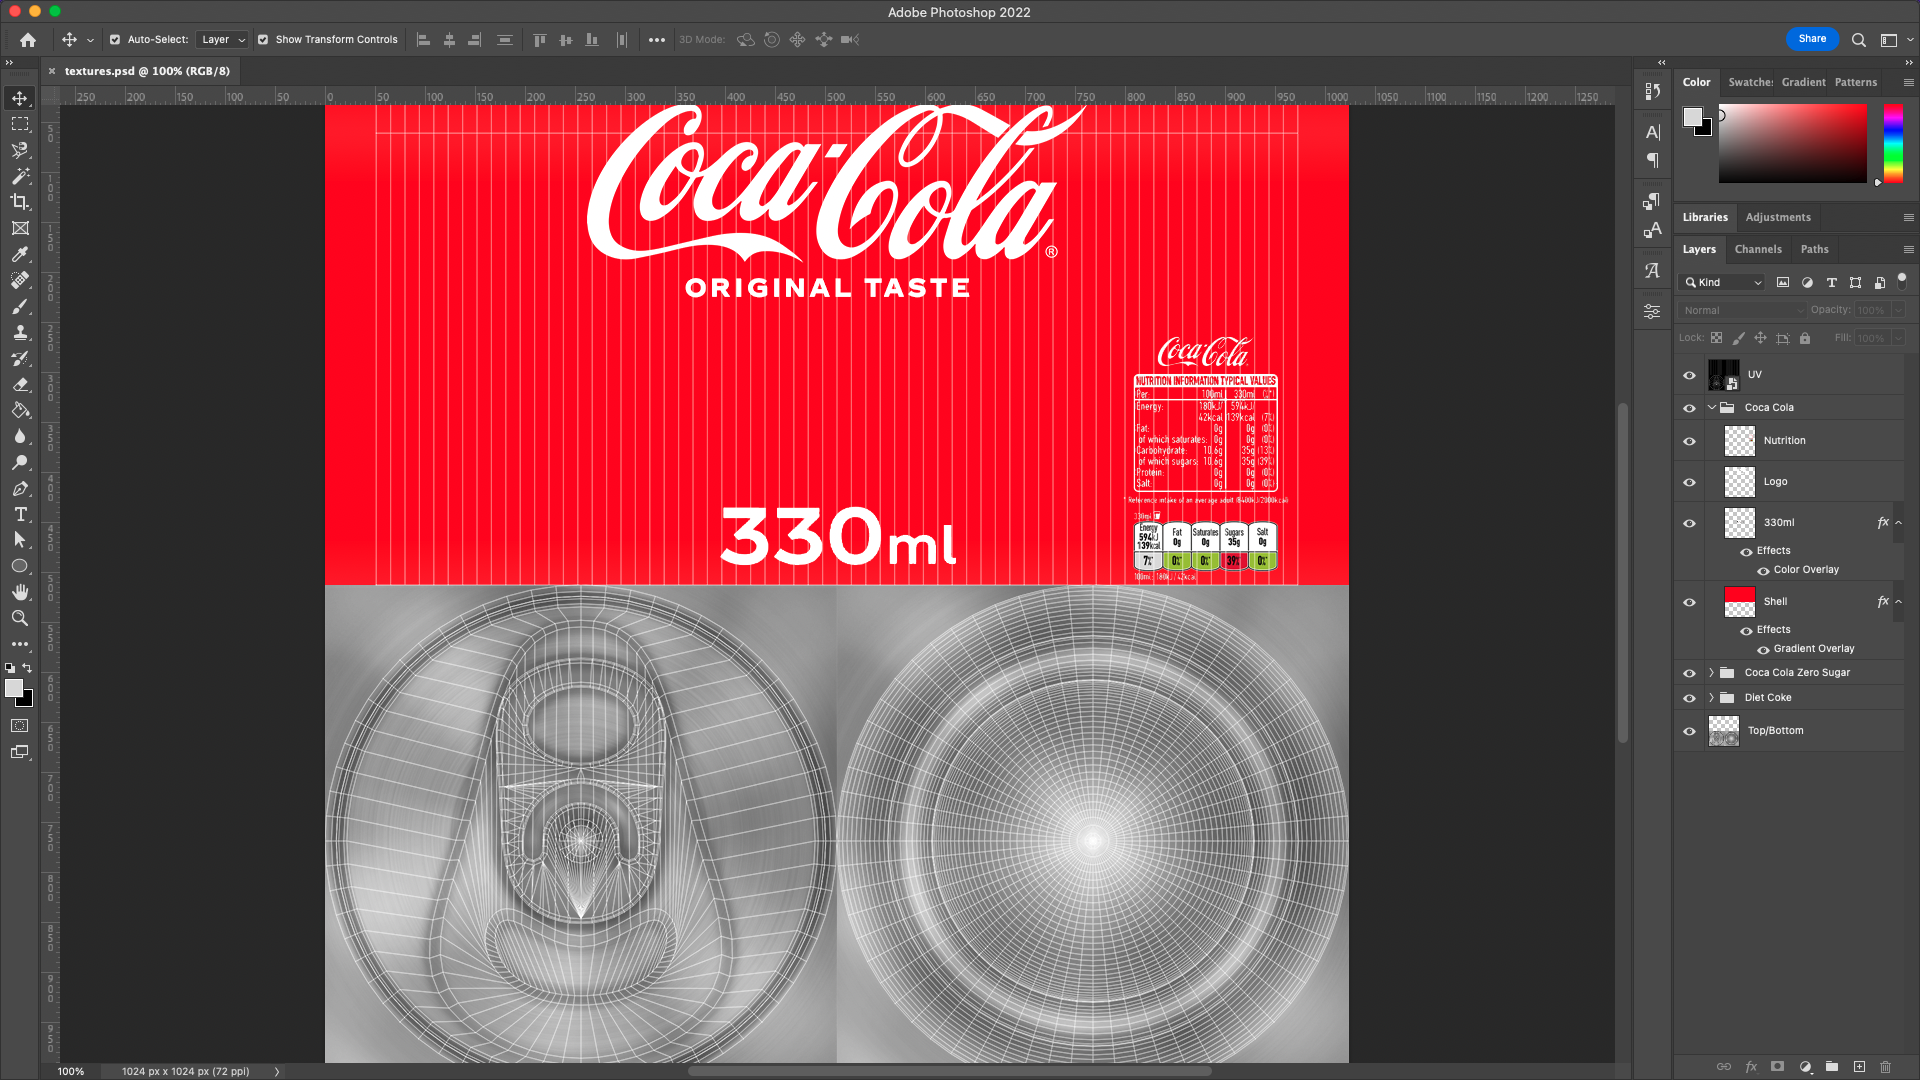
The unwrapped UV maps were exported from Autodesk Maya and imported into Adobe Photoshop, used to create the textures for the bottles and cans.
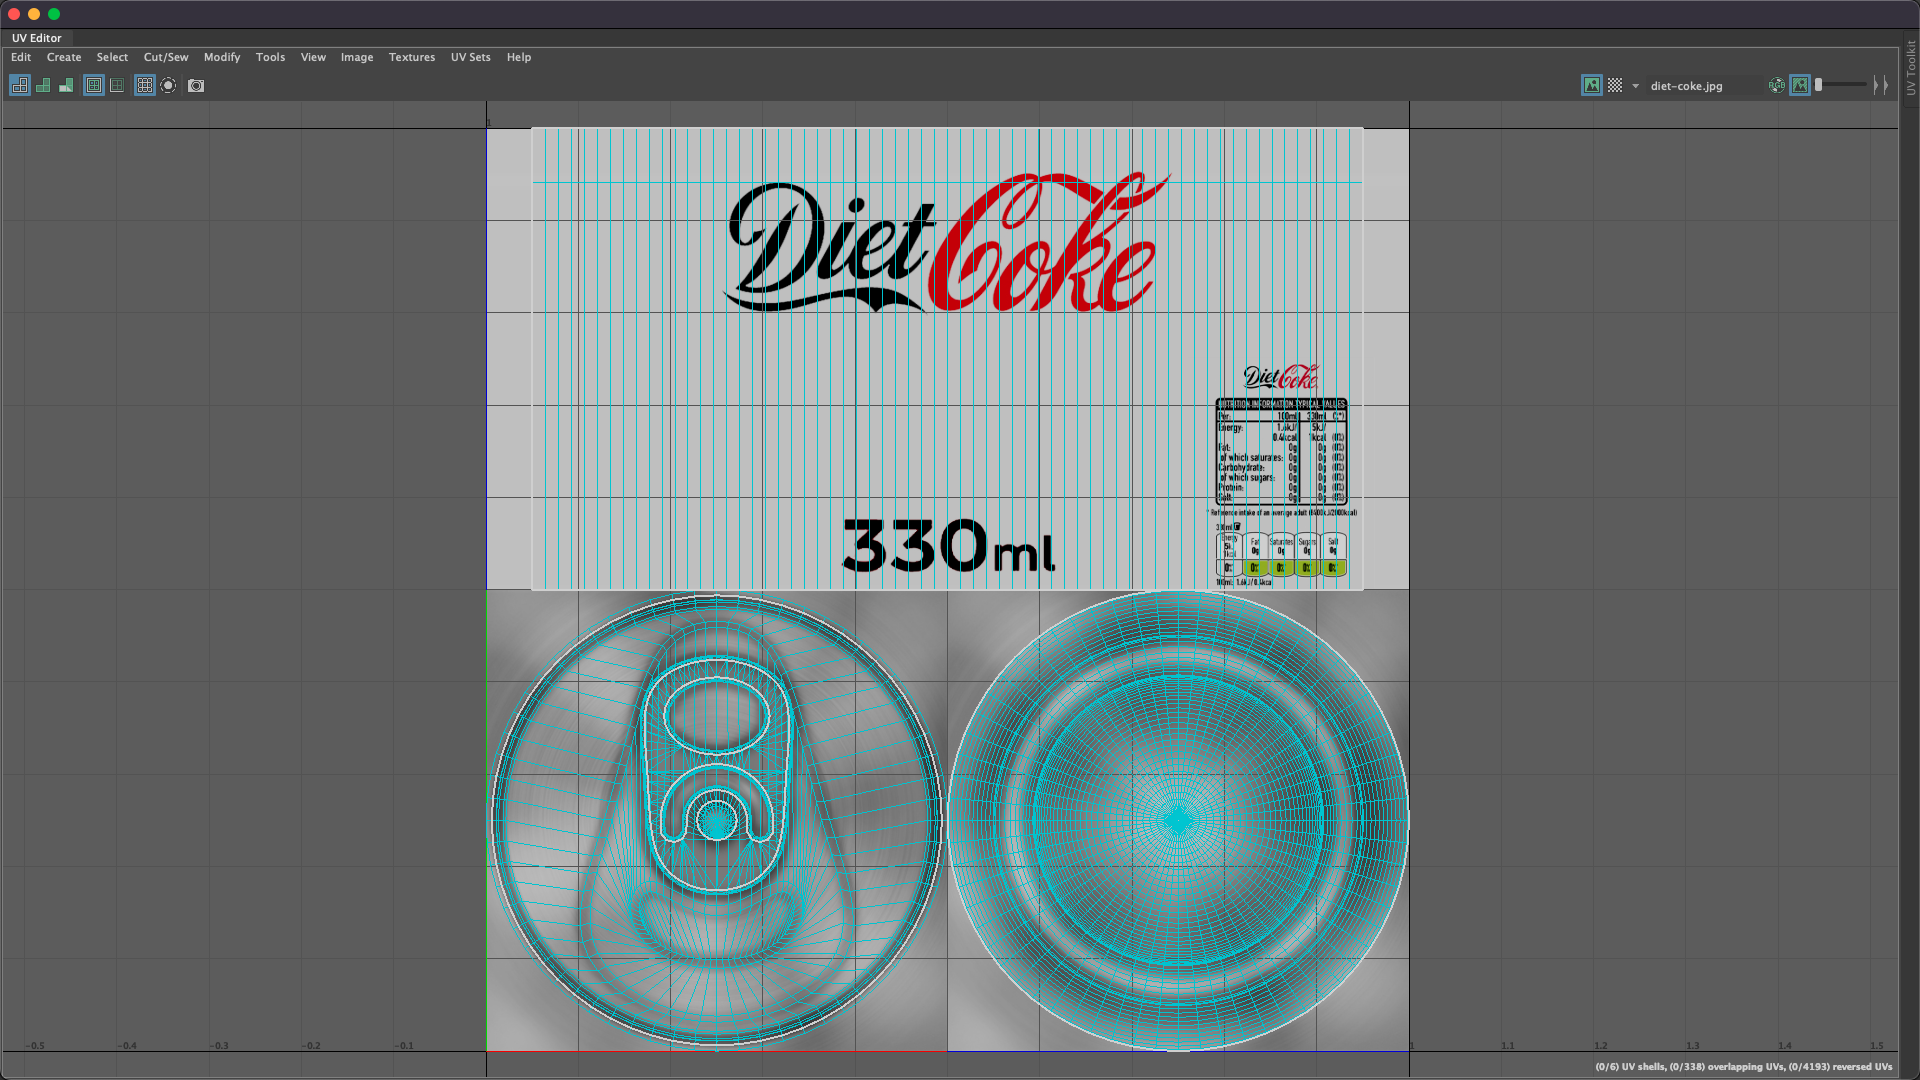
Once textured, the UV maps were adjusted to fix any alignment and/or bleeding issues, usually by slightly scaling the UVs to fit just within areas.
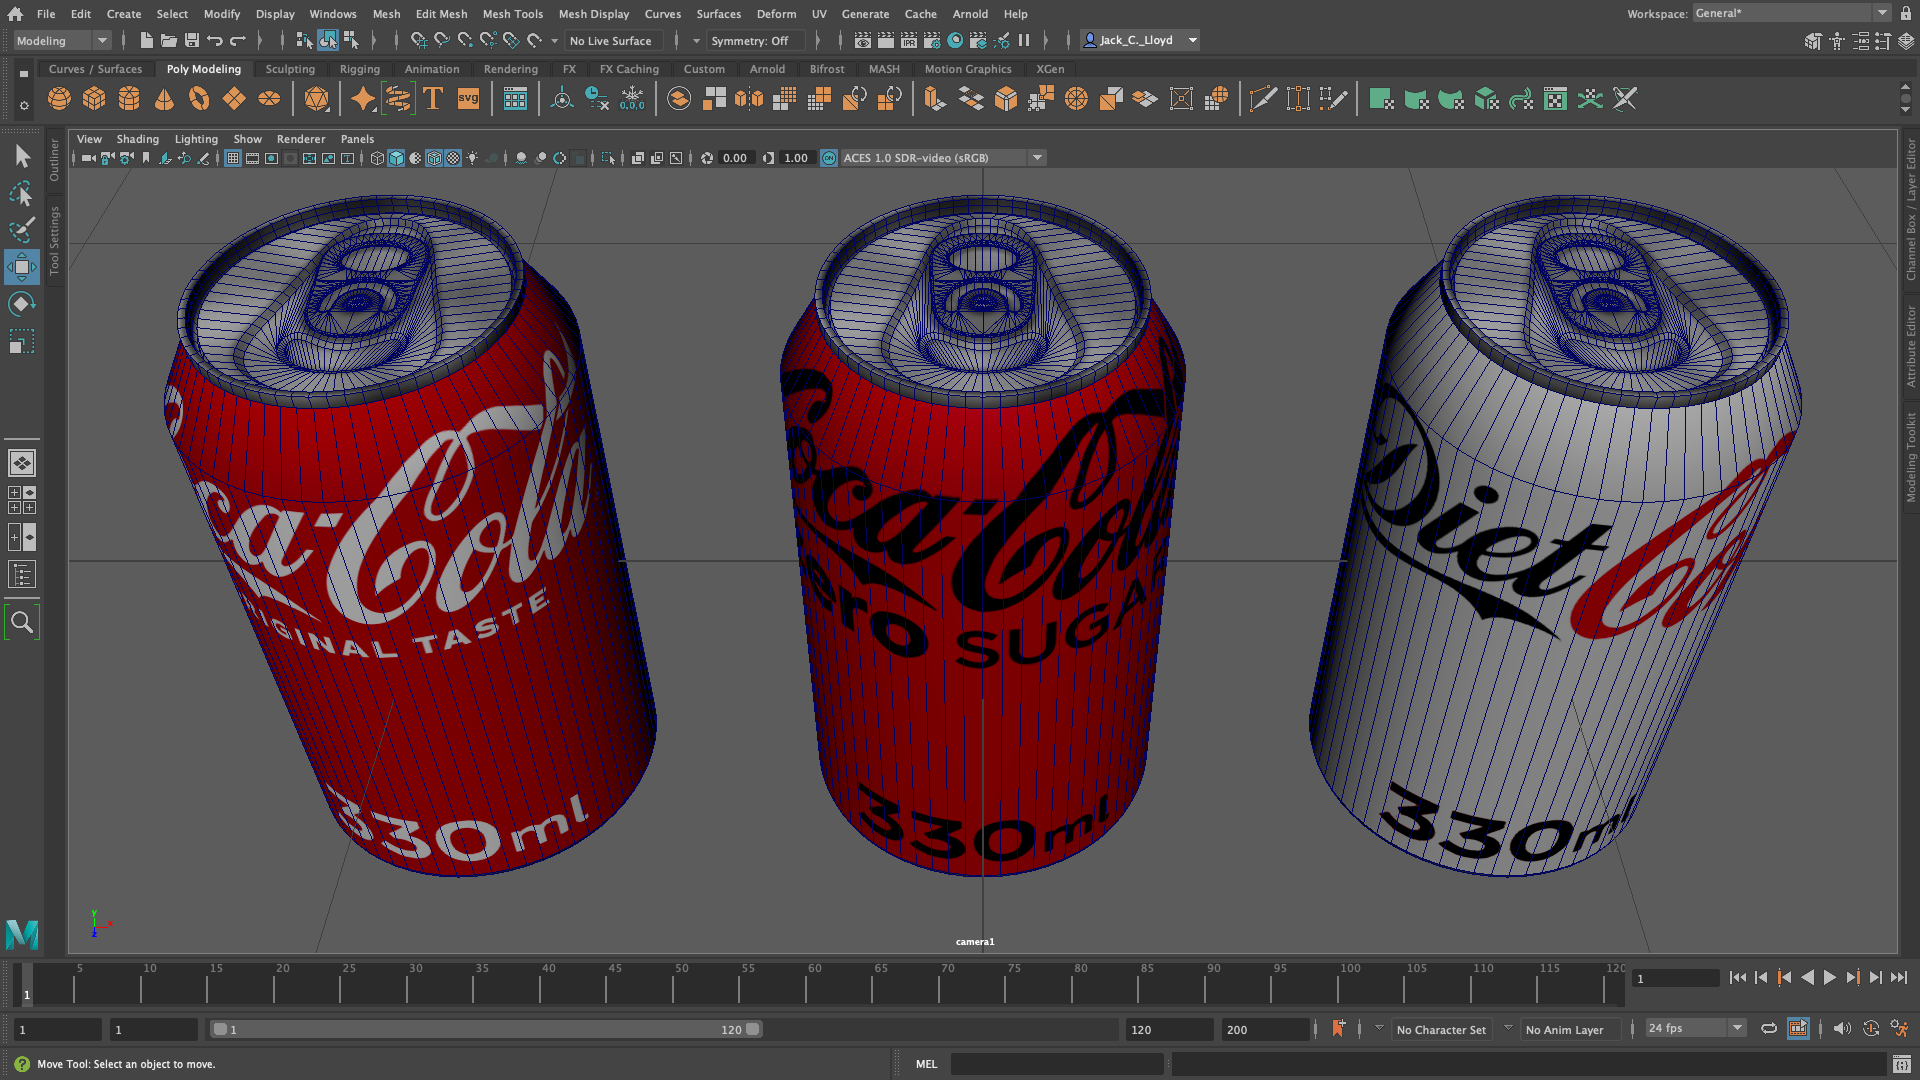
The textures were applied to Blinn-typed materials for each of the bottle and can models, setting the properties for specular highlights.
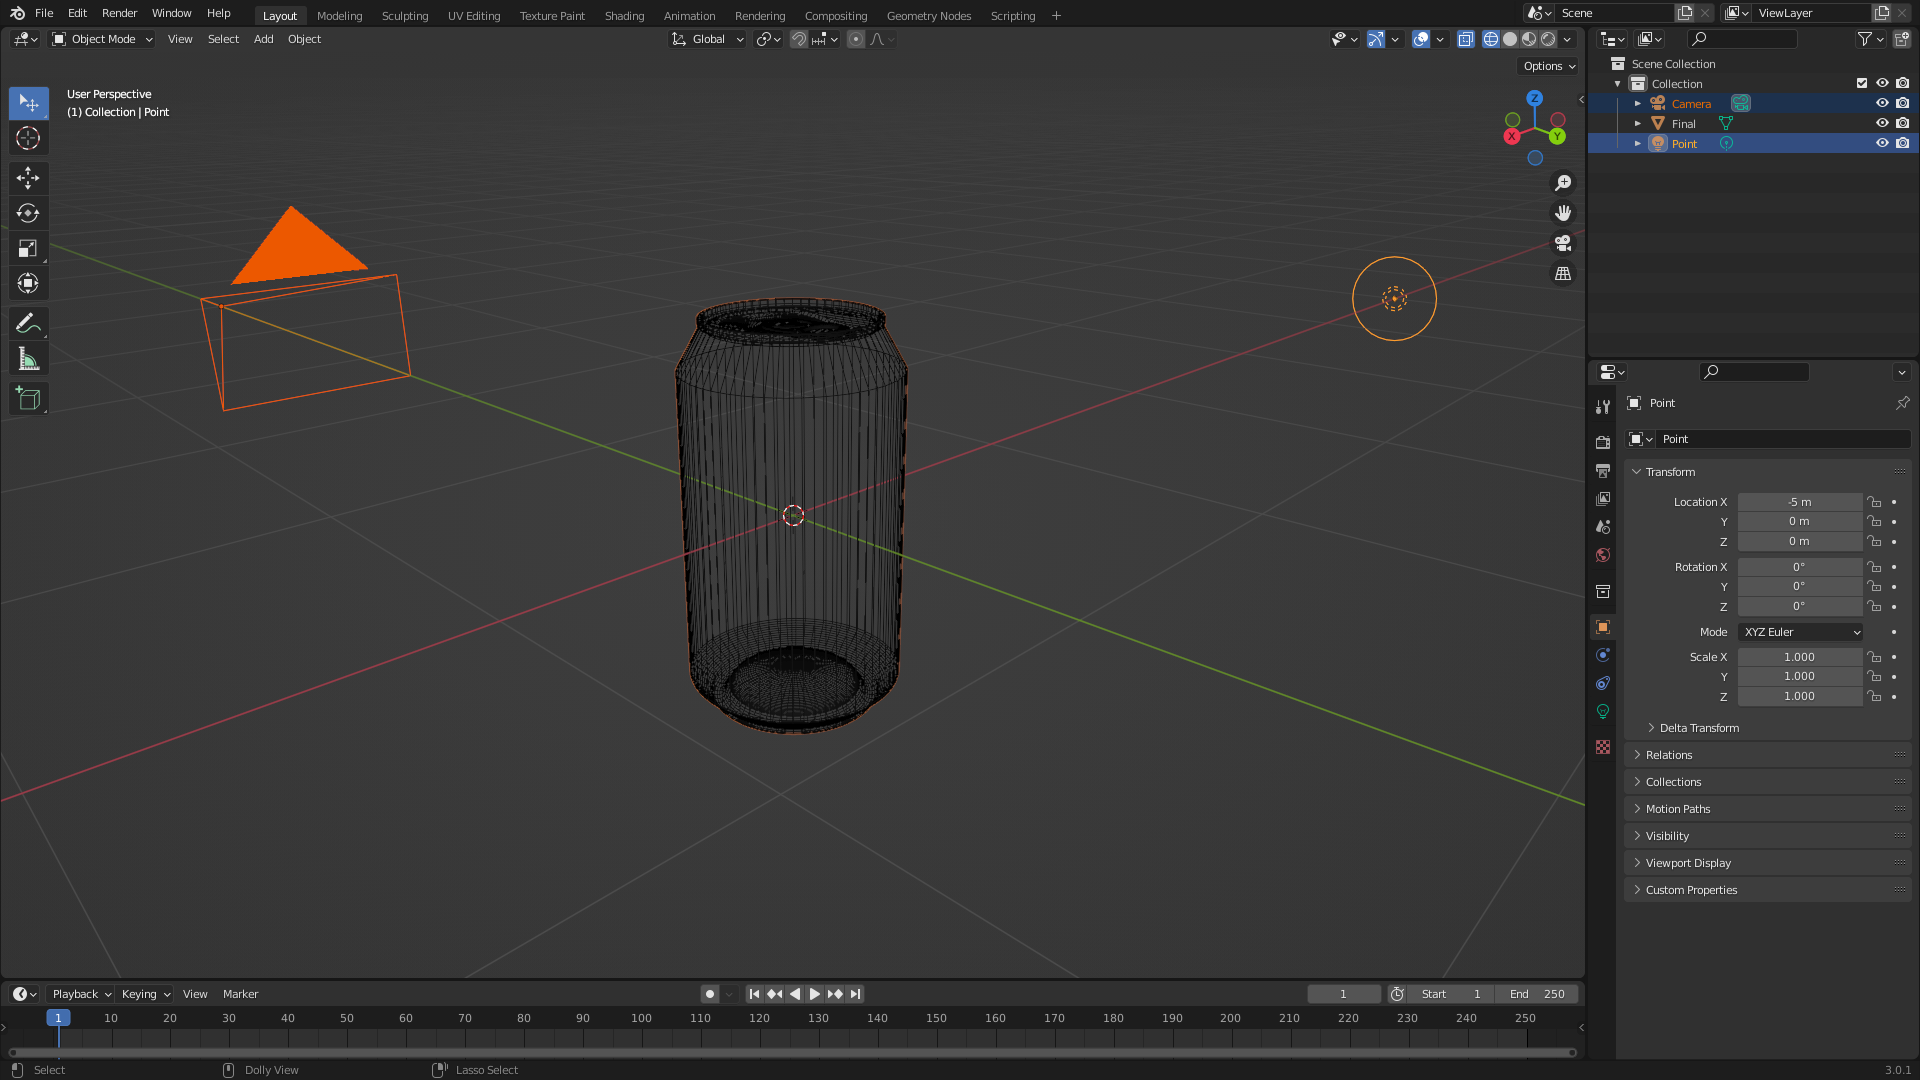
Since Autodesk Maya does not support the x3dom, Blender was used to rig the cameras and lights, and subsequently export to the .x3dom file format.
–
